Yet-to-be-named wah pedal
14 July 2018
This is the first wah pedal that I've built. The circuit is pretty simple... the challenge is getting the mechanical bits to work, and finding somewhere to buy the wah pedal shell that isn't going to cost $100 to ship to Australia.
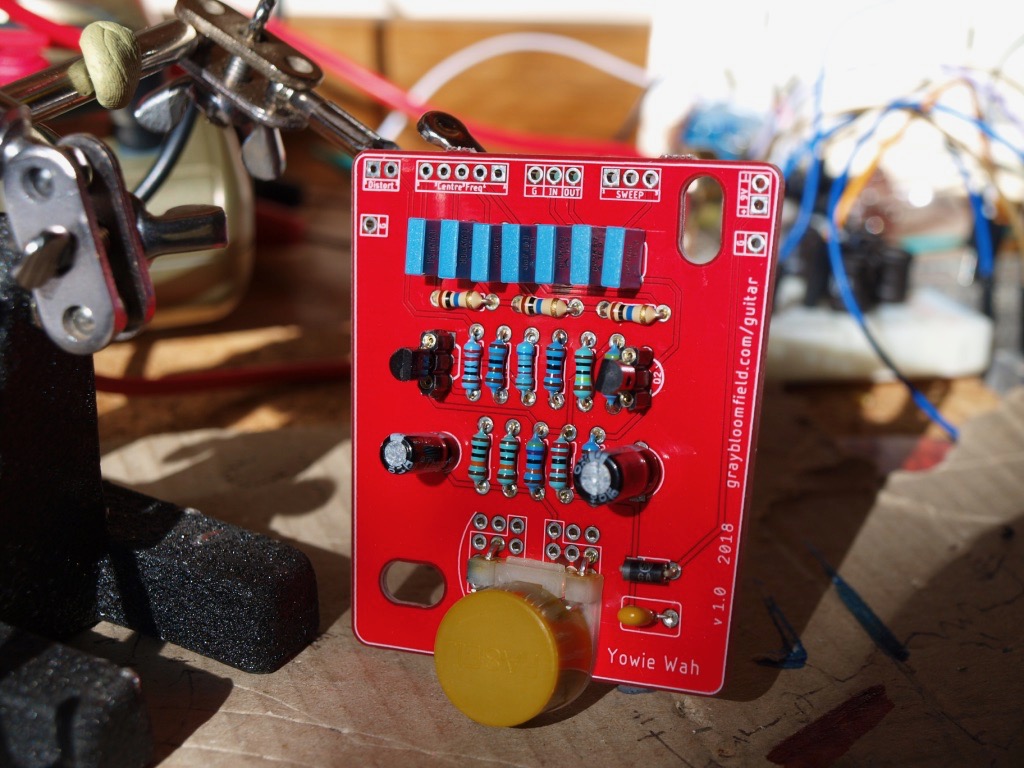
The circuit is a pretty standard wah - I read through the RG Keen article and experimented with different values for the resistors and caps. In the end I went with a 4 way switch for the capacitor which controls the centre frequency of the filter, and also added the option for a variable resistor on the drain of Q1, which allows you to increase the gain into a slight distortion.
I designed the board so the edges should be parallel to a wah shell. I went with a symmetrical layout for the components, because, OCD. In the end I moved the capacitors slightly to the left, just to keep them away from the PCB mounting hole. Now that I've got it all assembled, I think I was a bit over cautious with that, as there is still heaps of room.
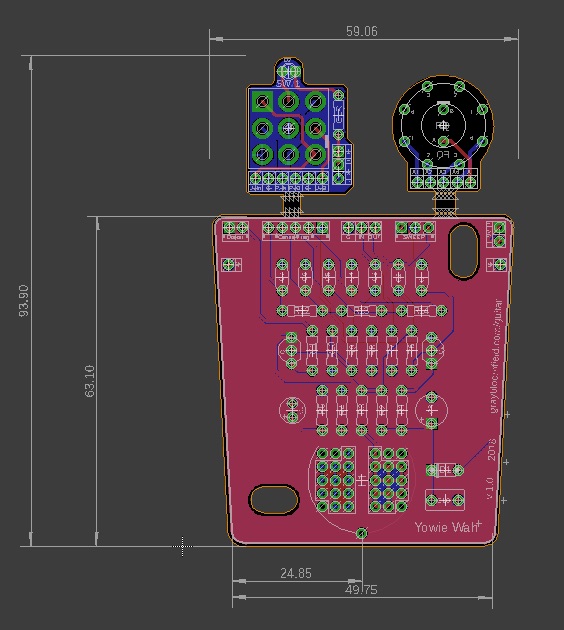
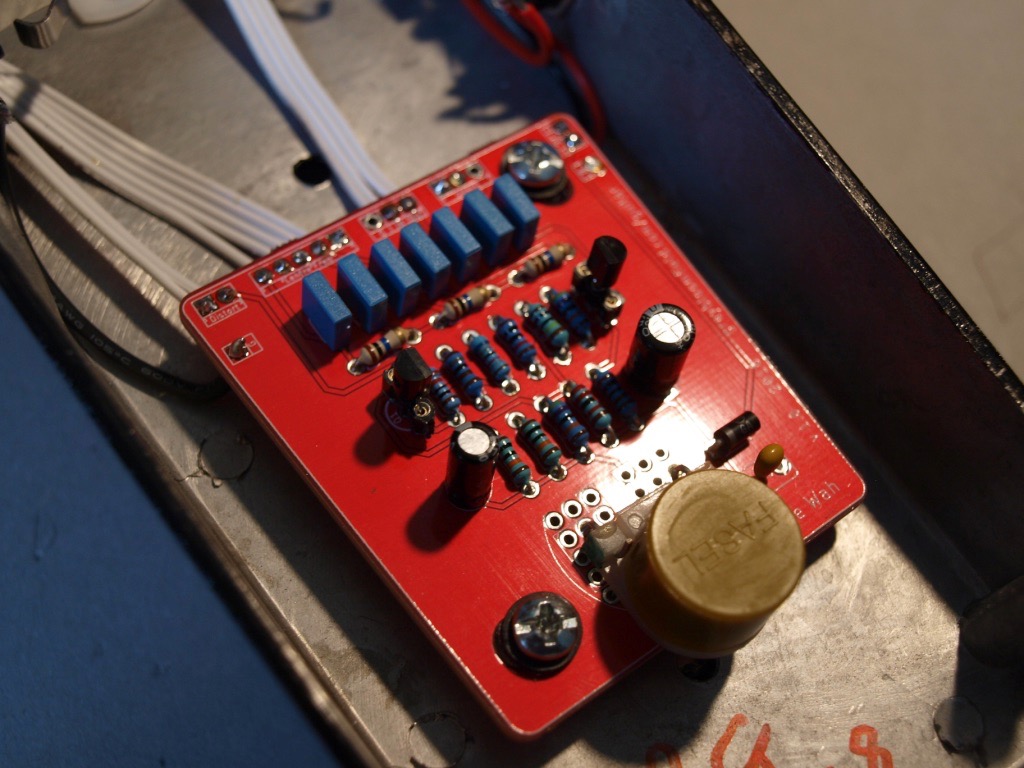
An early revision of the board
The boards were done by Elecrow, and I also added a stomp switch and rotary switch board to make wiring easier.

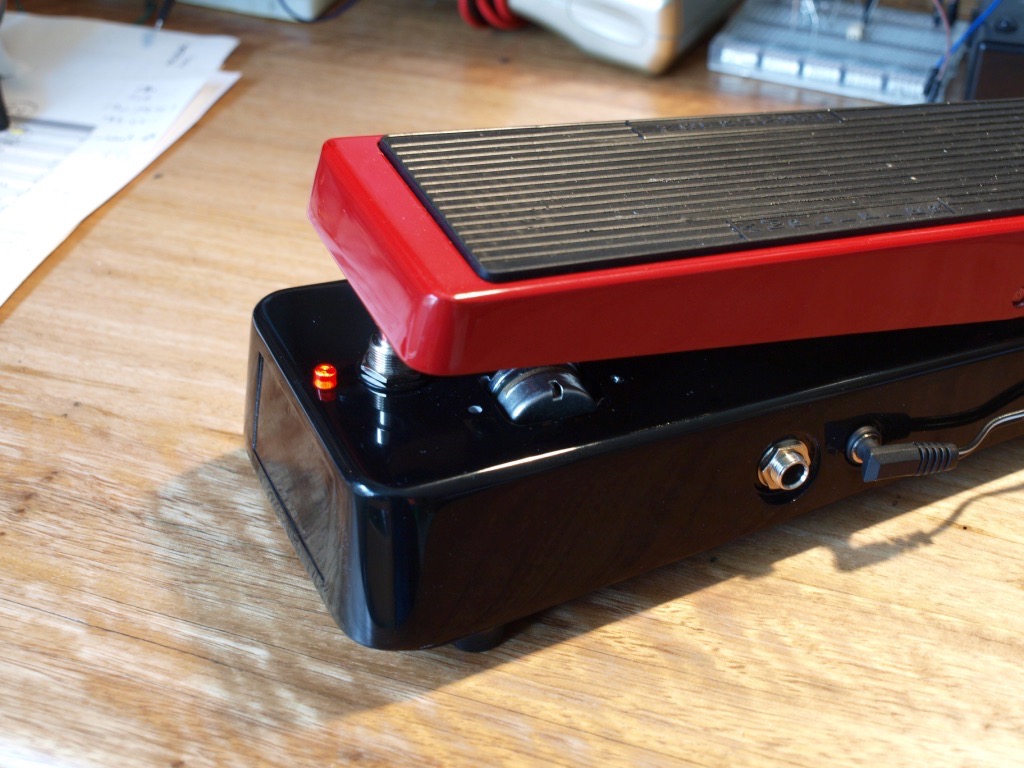
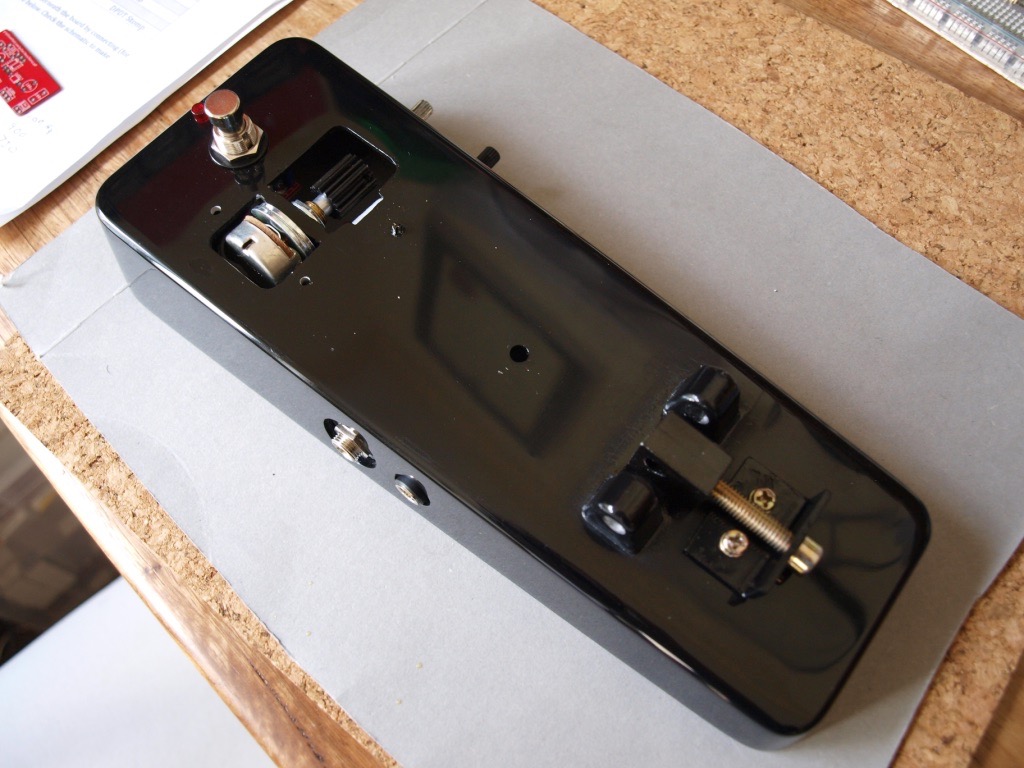
Internal wiring is pretty minimal, but I did need to run ground wires everywhere, including to a screw to make sure the enclosure was grounded properly. Apparently the paint that I used was too good an insulator.
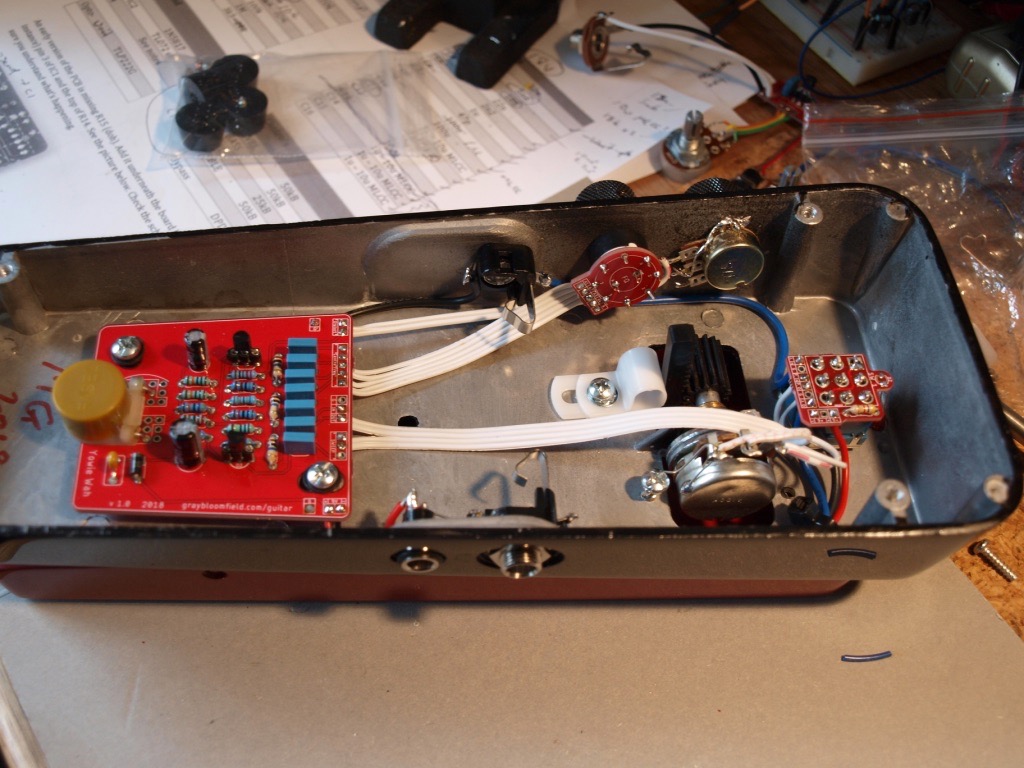
The wah shell came from Pedal Parts Australia. It was about the only place I could buy one if I didn't want to pay stupid amounts for shipping from the USA. I also got the Fasel inductor from them.
The shell kit is ok, but I've had a few issues. None of the holes were tapped, and the screws provided wouldn't go in without snapping off. I made a bit of a mess trying to get screws in, and in the end had to buy a screw tapping kit off eBay. The clutch provided was just plain wrong - it was a little bit of plastic that didn't reach the rack/pinion at all. I contacted Pedal Parts, and they were very good - they sent out a genuine Dunlop replacement clutch for free straight away. Apparently they hadn't looked too closely at the kits and had just realised the clutch was rubbish.
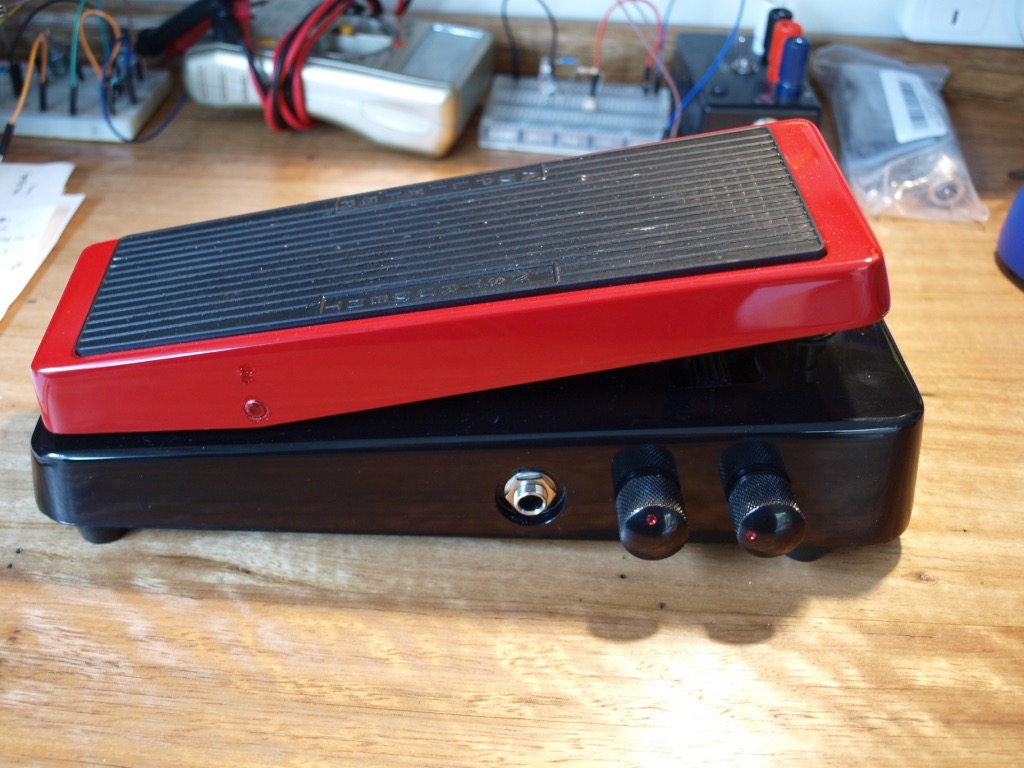
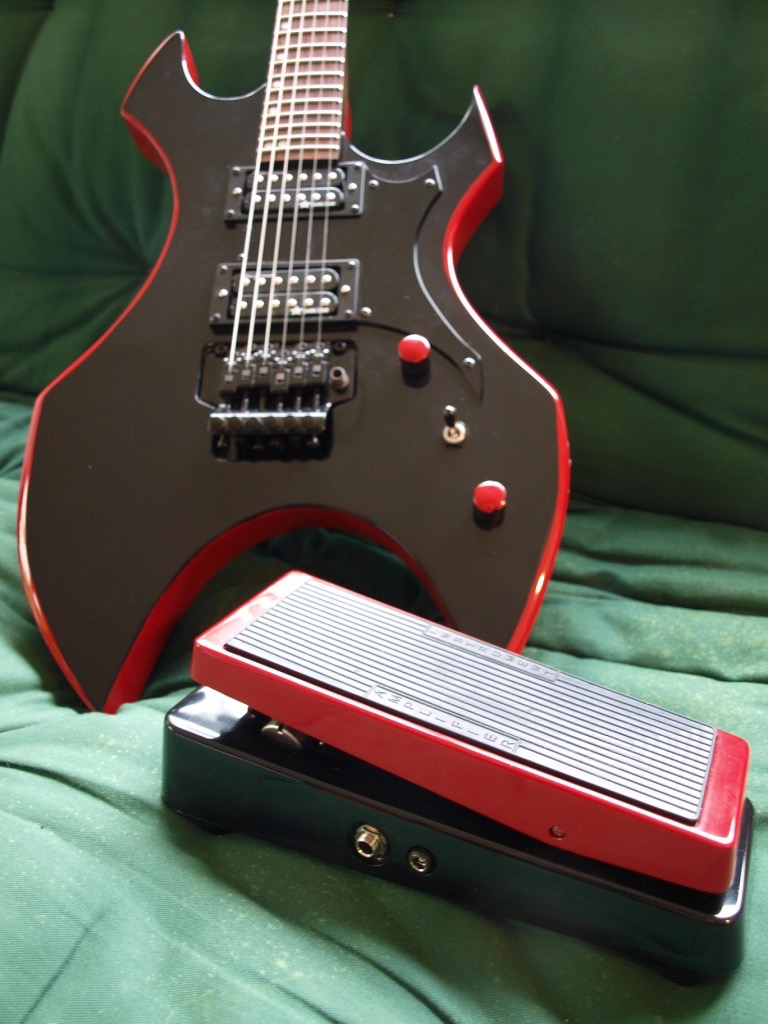
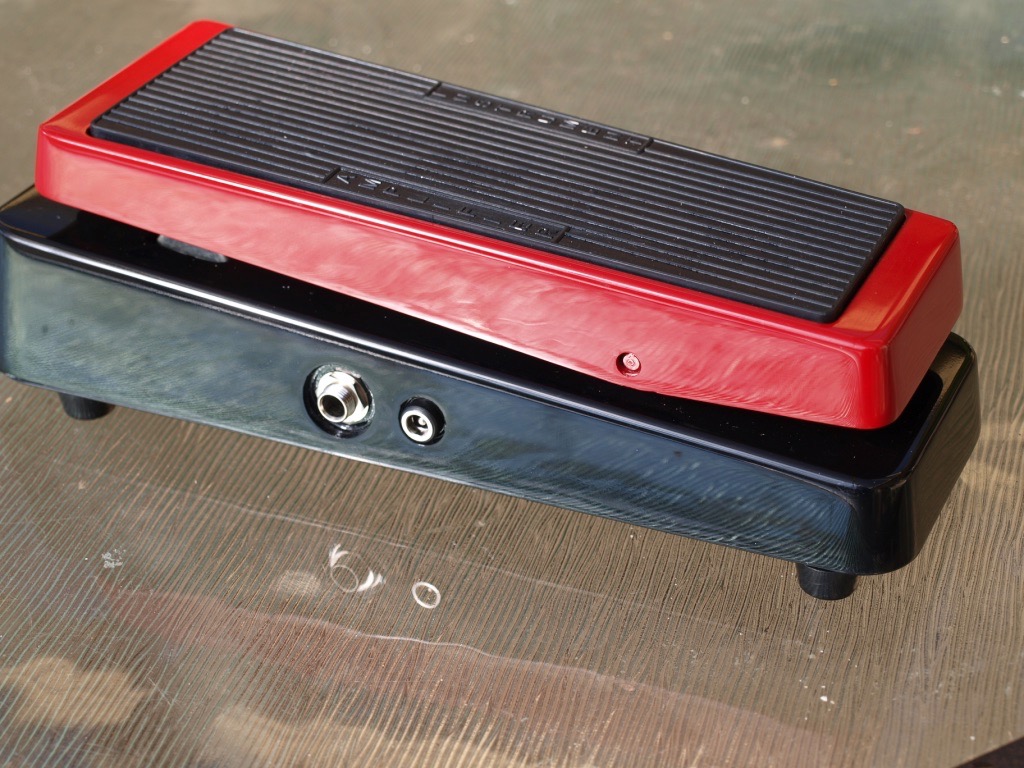
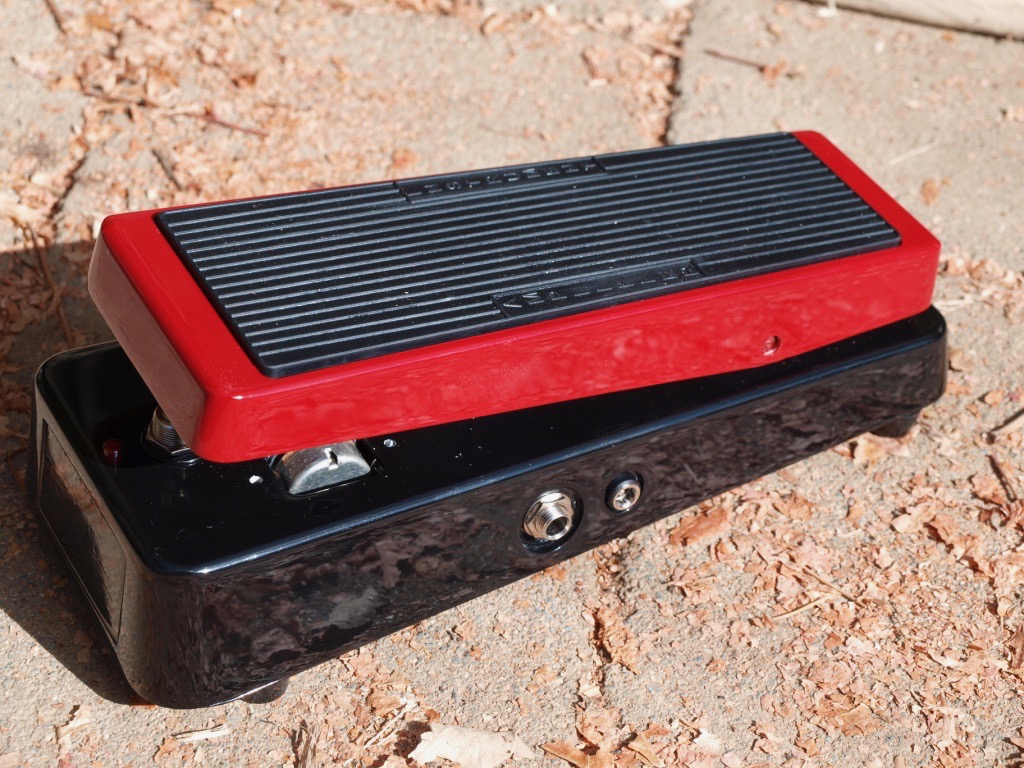
For the finish, I have matched it to the guitar that I built last year. I'm using car spray paint (rattle cans), in a red and black, with clear coat over the top.
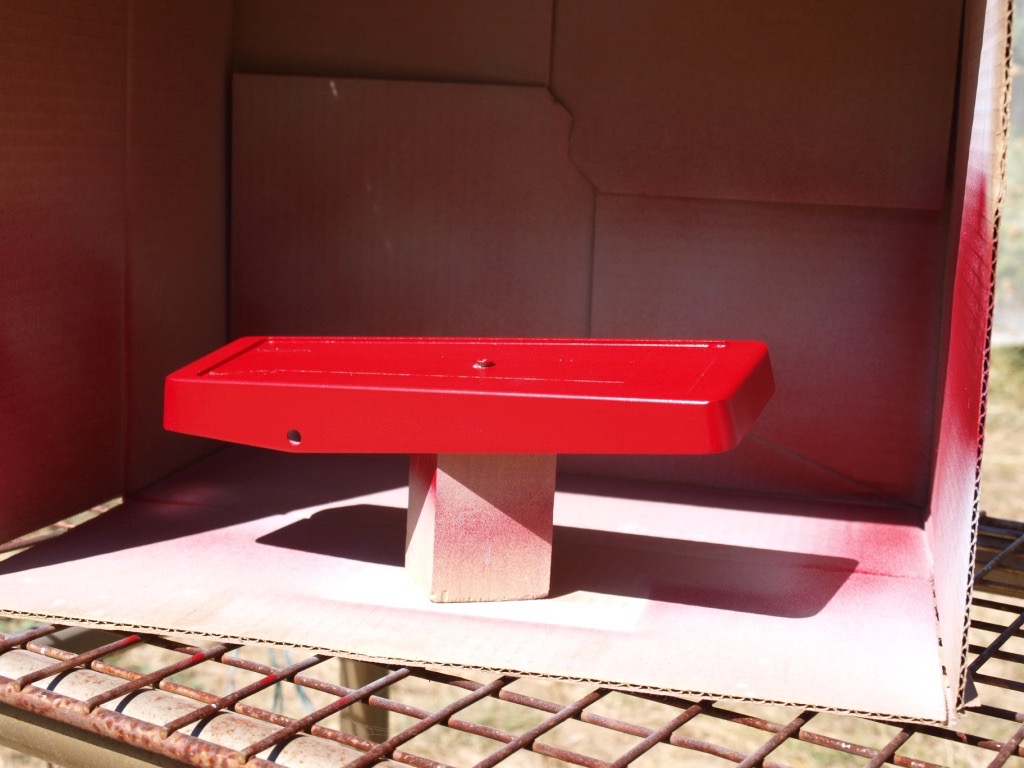

Then sanding the clear coat down with 600, 800, 1200, 1500, 2000, 4000, 6000, 8000 and 12000 grit paper and pads. After that, a rub with some car scratch remover.


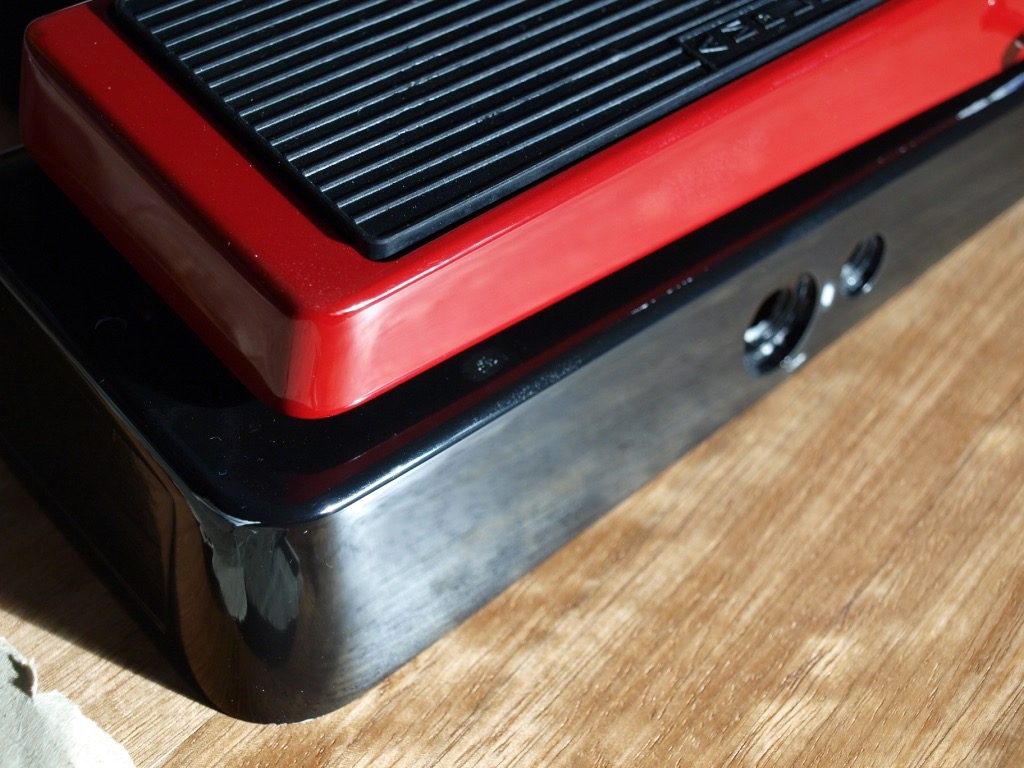
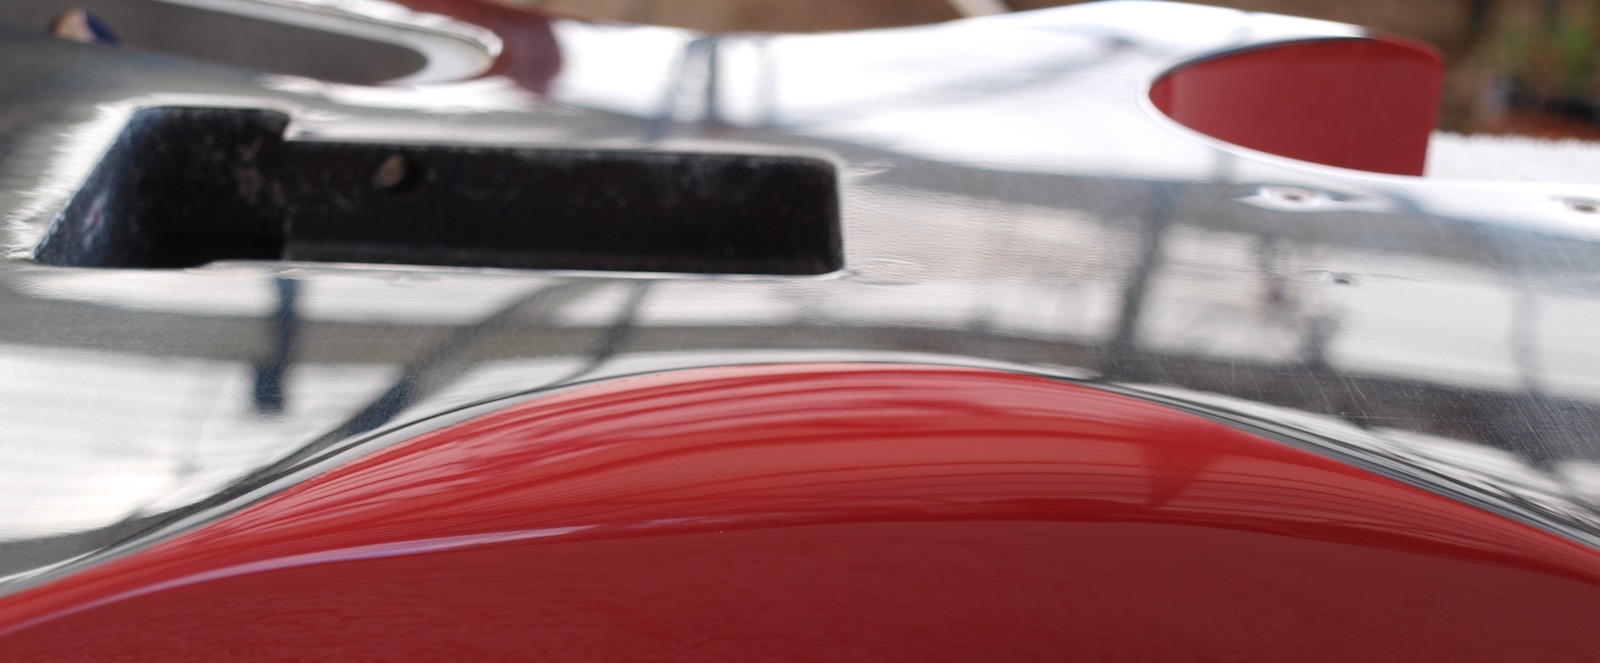
This approach works pretty well, but I went too heavy on a number of the edges, and managed to go through the the clear coat, colour and even the undercoat in a few places. I've had to touch it up with some black model paint, which doesn't have the same mirror finish, but will do the job at a distance. And when it comes down to it, this thing is meant to be trodden on, so I shouldn't be too fussy with the finish.
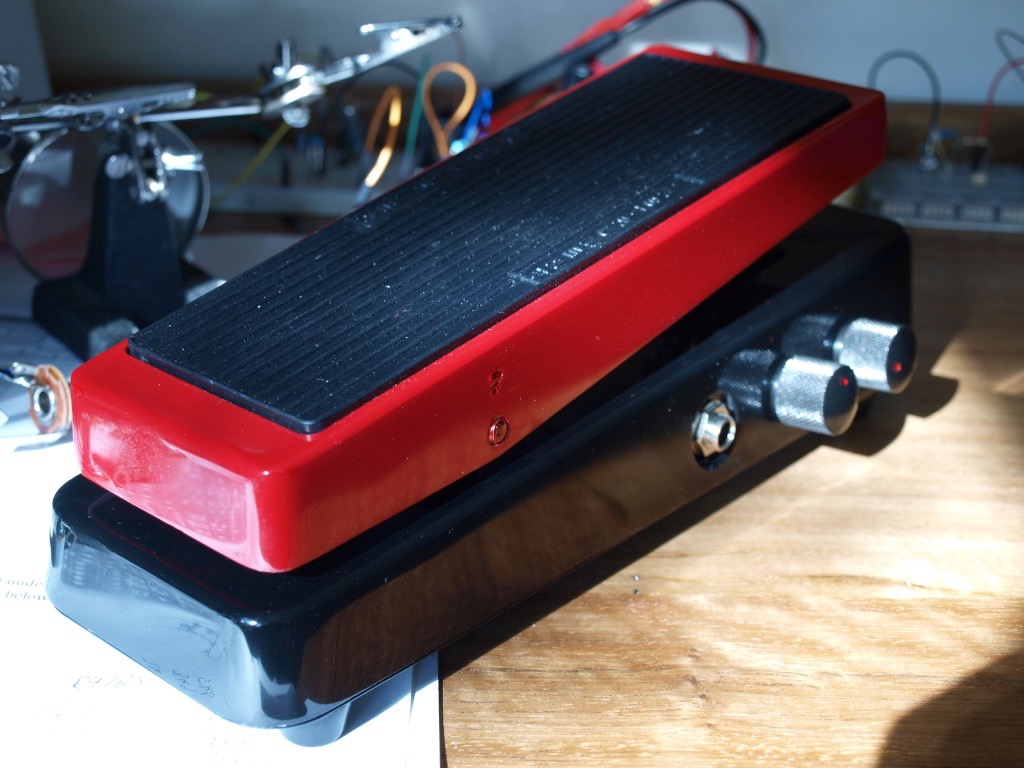
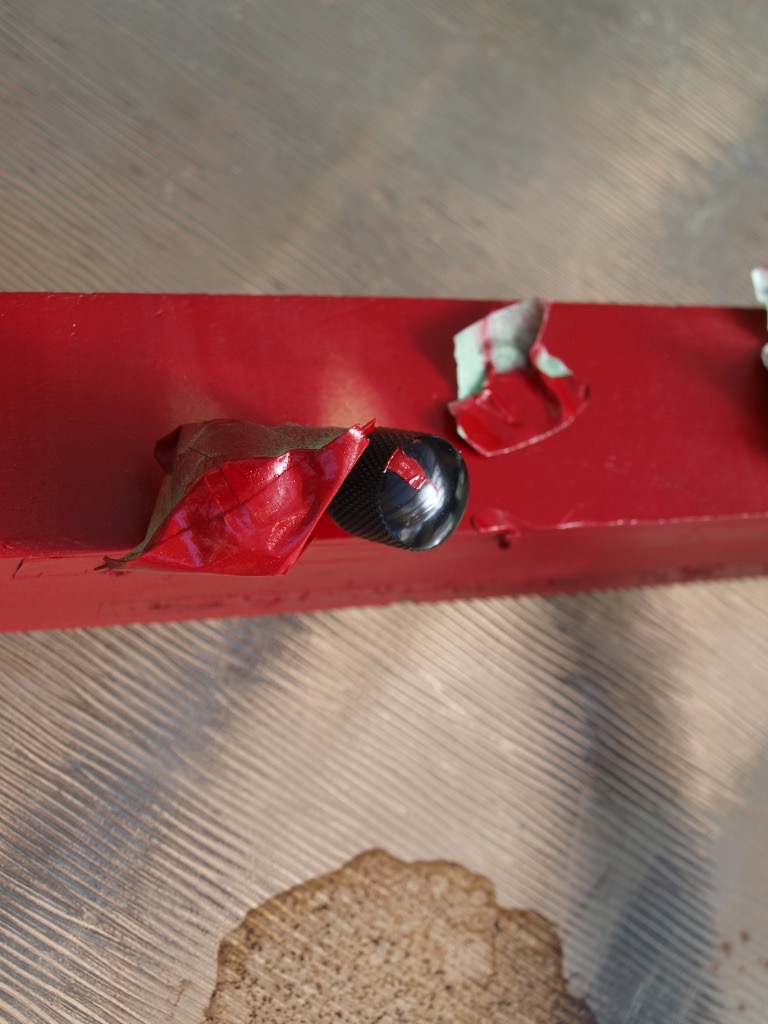
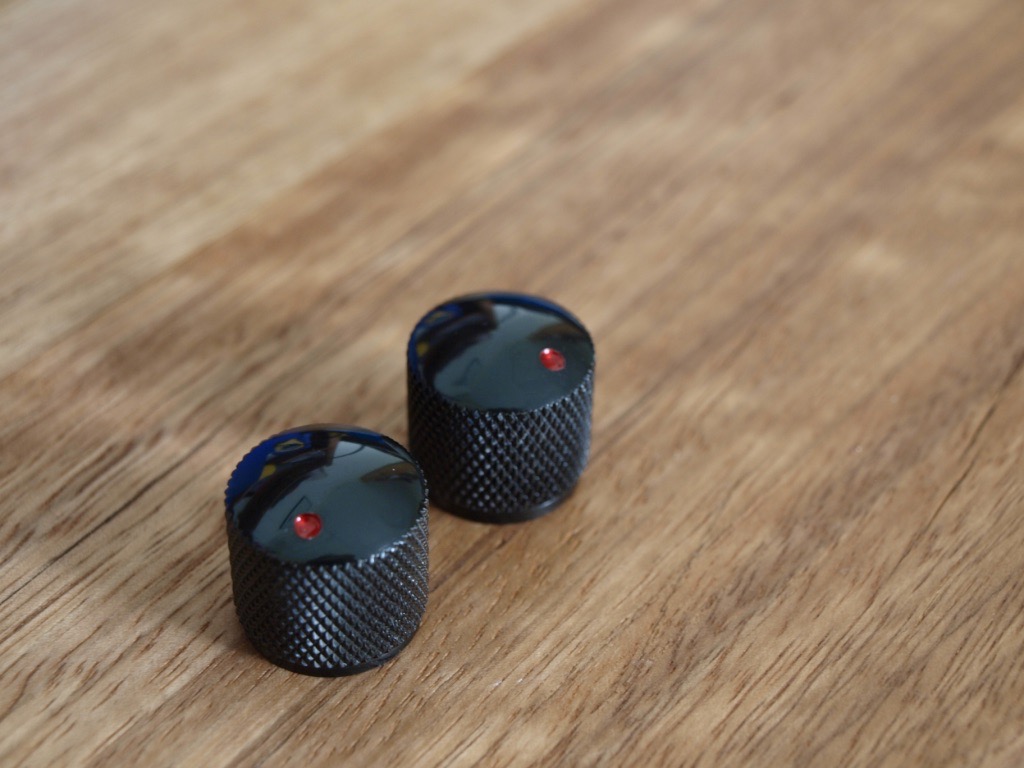
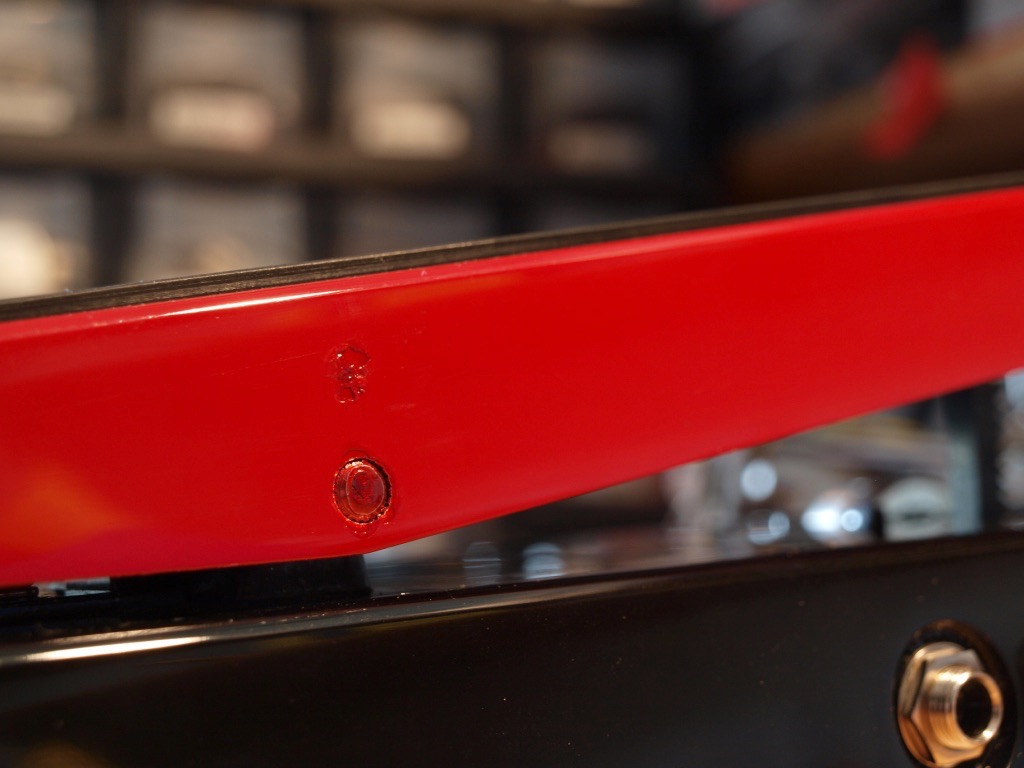
The knobs are black coated aluminium, which I wanted to put a red marker on. First attempt was to spray a red stripe, which turned out looking pretty rubbish. I then experimented a bit, and tried a small concave dip with the rotary tool, and dabbing a bit of red model paint in the hole. That came out wonderful - the red paint is slightly transparent, and the aluminium shows through and catches the light, giving an almost gem like appearance. I'll have to try this with a few other colours of paint in future.

1st attempt - rubbish
2nd attempt - nice!
Final assembly tasks was to fit the pin holding the two bits of the shell together. I'd been putting this off for quite a while, as I was worried I'd screw it up and damage the paint finish. Turns out I was right - I had to hit this thing hard, with a metal hammer, repeatedly, to get it to even start moving. I screwed it up on one hit, and put a chip in the paint. Eventually got it going, and then used a nail centre punch to get it all the way in. More model paint to try to fix the screwup. Dammit.


Still to do - come up with a name for the pedal, and make a name plate to go on the front. Some almost finished pics, including with the matching guitar.